Sunday, September 25, 2016

Switching to frame, Windows, alert in Selenium WebDriver

1. How to Switch from one frame to another

 // How to Switch from one frame to another  
 WebElement iFrmeElement = driver.findElement(By.xpath("xPath for Frame"));  
 driver.switchTo().frame(frameElement);  
 //Or  
 driver.switchTo().frame(id or name)  
 //Or  
 driver.switchTo().frame(index of frame)  

2. We can switch to default again by:

 driver.switchTo().defaultContent();  

3. We can switch to a window based on name, Id or Windows handle

 driver.switchTo().window("windowName");  

4. We can switch to an alert

 Alert alert = driver.switchTo().alert();  
 // We can close an alert using methods for alert object  
 alert. accept();  

Saturday, September 24, 2016

Importing an existing maven Project in eclipse in three steps.

An existing Maven Project can be imported in eclipse following simple steps as shown below.


1. In the eclipse workspace, click on File>Import.


 2. Select Maven>Existing Maven Projects

3. Browse to the folder location when Maven Project to be imported exist. Once the location is provided. It will search for the POM file. Select the file and click on Finish. Maven Project will be imported successfully.It will take a while to download dependencies and available to use.

Extracting Tooltip text using Selenium WebDriver : Quick Codes

Tooltip displayed for an element is identifed based on the attribute title defined for the element. Knowing that title of the element is the tooltip resolves half of the problem.


Suppose there is an element with id as abcde, the tooltip of the element can be stored in a string using code as below: 

Tooltip example


//example 1: getting tooltip of the elemet 
String strToolTipText = driver.findElement(By.xpath("//input[@id='abcde']").getAttribute("title");

//example 2 : Validating tooltip is displayed correctly for an webElement 
public boolean verifyTooltipText(WebElement webElem, String expToolTiptext)
 {
  String acttooltiptext = webElem.getAttribute("title");
  if(acttooltiptext.contentEquals(exptooltiptext))
  {
  return true
  }
  else
  {
  return false
 }
}

Saturday, September 3, 2016

Jenkins setup on localhost server

 
  • Downloading Jenkins
    • Download Jenkins from Jenkins official site.
    • Jenkins.war will be downloaded.


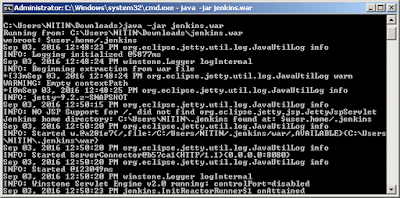
  • Go to command prompt and navigate to folder in which Jenkins is downloaded
  • Run below command in command prompt
  • java -jar jenkins.war


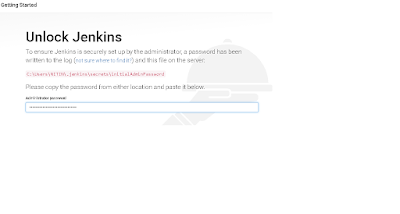
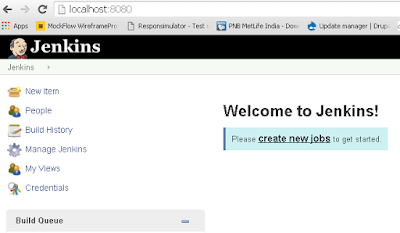
  • Navigate to localhost:8080 on the machine where jenkins is run. The page asks to provide the admin password and the location from where to copy the password.
  • Provide the Password


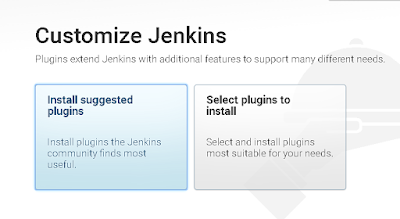
  • Select the suggested plugins to install


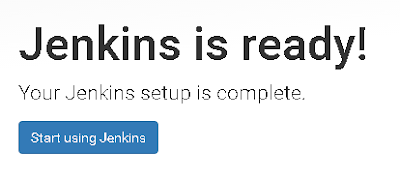
  • Now we can use Jenkins  

  • Jenkins set up is complete. Click on start using Jenkins for creating jobs.


  • Jenkins dashboard will be displayed